This week was my first-time using Photoshop, so it has been quite the journey. One of the reasons I was super excited about this class was to become familiar with Photoshop. I have attempted to use other more advanced editing programs before with little to no lasting success, but the tutorials I did earlier this week and posted about were very helpful to get started.
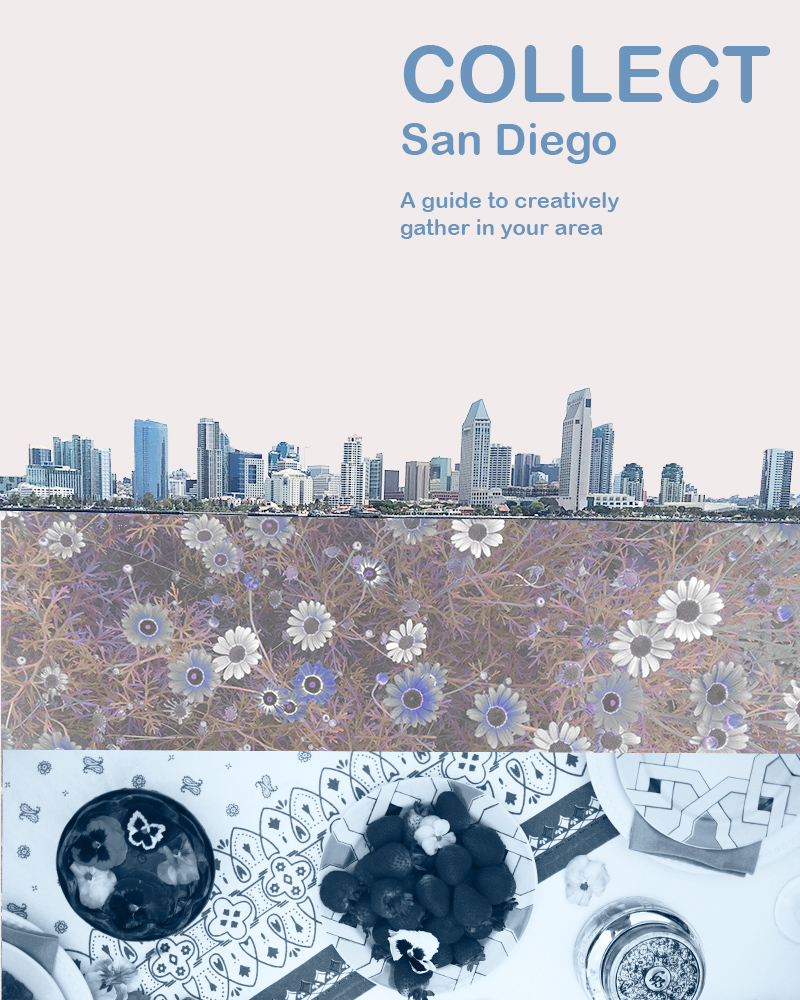
For this first Photoshop project, I wanted to do something to advertise Collect, although I think with some text changes this could also be a great flier for an event. To start with, I did some research and originally came up with a different design inspired by the opening credits of 101 Dalmatians. I loved the first idea, but I wound up tossing it out because although I thought it had more story elements, I believed it was too busy and wanted to go for a simpler cleaner design. I worried it would be overwhelming for the audience.
I really love the general aesthetic of Darling Magazine when it comes to advertising and blogging, so I decided to check out their Instagram for inspiration next. Check it out here: https://www.instagram.com/darling/ I finally settled on something that I think has minimalistic aspects, but isn’t as minimalistic as their general aesthetic. I like more color and in general just MORE. Plus, I needed to incorporate at least three photos and show a bit of what Collect is about at the same time.
It was critical for me to showcase that Collect is San Diego based, involves the outdoors, and was about food/togetherness/event planning. The San Diego skyline establishes location, the flowers establish that it is outside focused, and the table setting I hope implies the other elements. Hopefully this tells a micro story of what Collect is about.
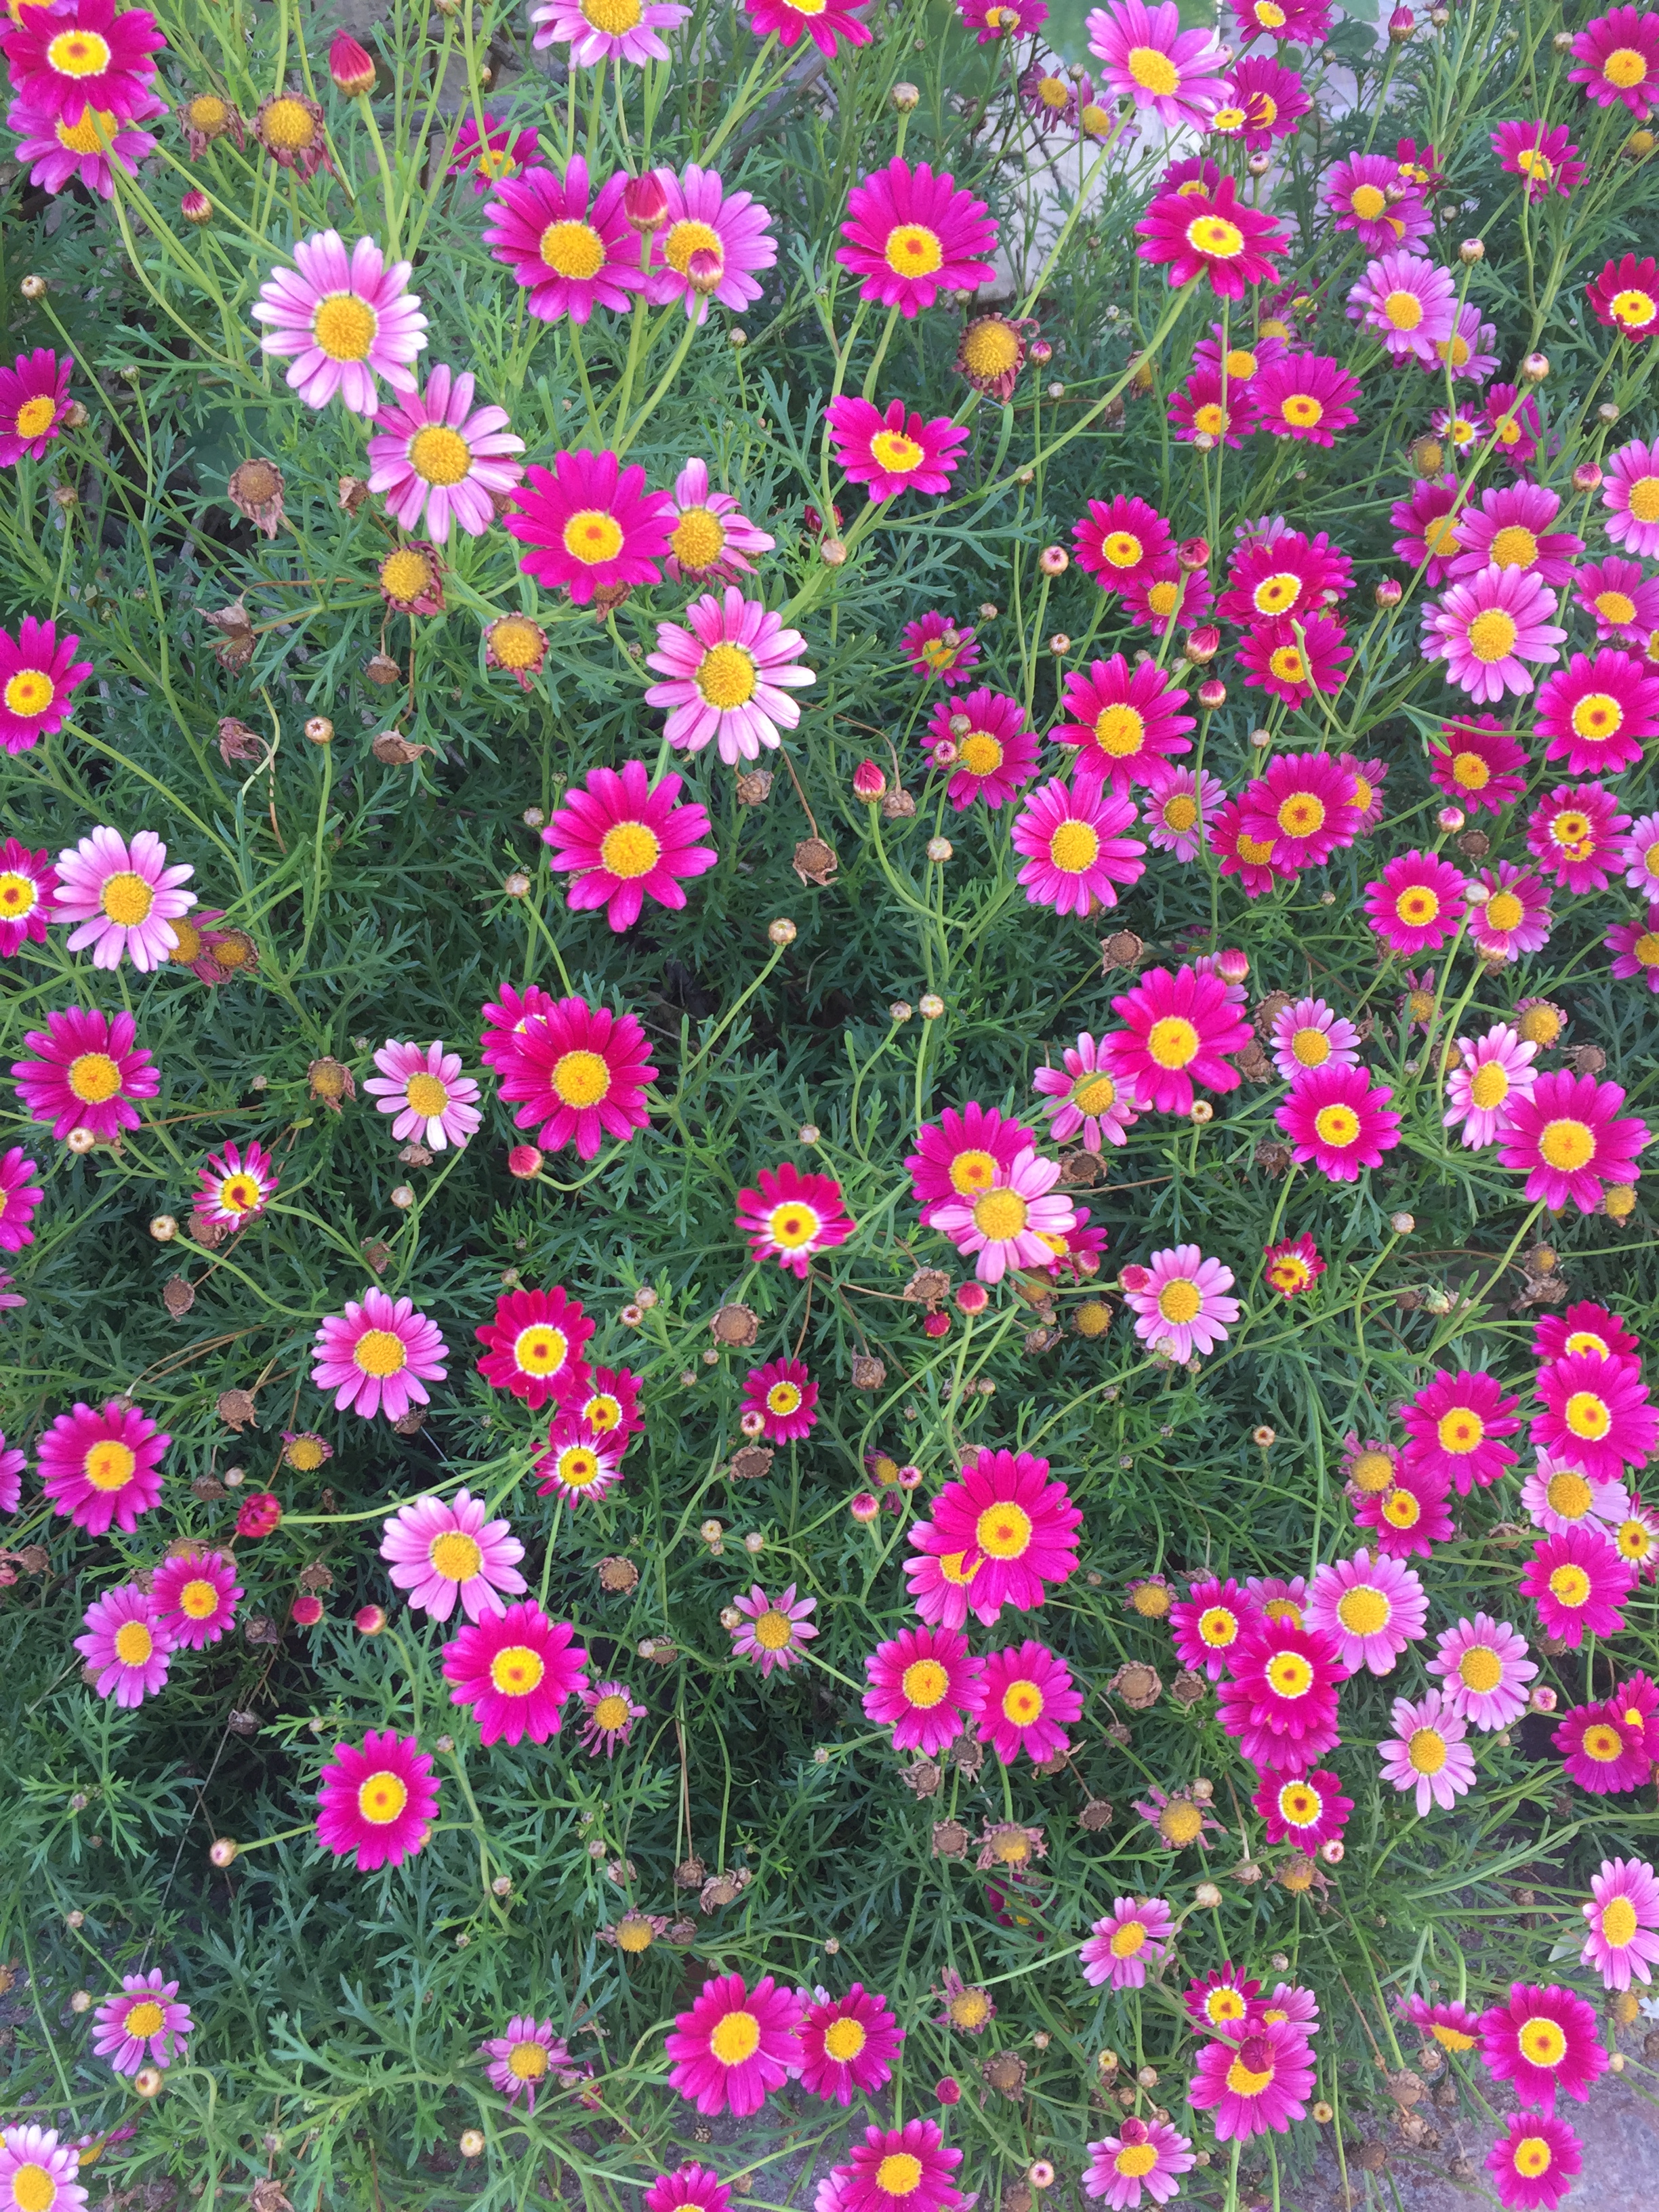
To start off the technical aspects of my design, I started with a photo of San Diego bay and used the magic wand tool to edit out everything except for the sky line. I then adjusted the brightness/contrast. Next, I embedded a photo of some flowers that I had used a saturation/hue mask to edit earlier in Photoshop. Then I placed this photo in the lower quadrant of the design. They used to look like this:
Next, I added a new fill layer and placed it under the San Diego skyline and under the flowers to fill in the area that was previously the sky. Finally, I added a photo from an event I planned and decorated for a few months back to the very bottom. I added overlay masks here to change it to black and white and to alter the brightness and contrast so that it was bluer and more in line with the rest of the color scheme. To finish, I added text.
I was originally going to make this an event flier and it certainly could be modified into one later, but I wanted to stick with a clean design just simply advertising Collect. I could potentially add in more contact info later like; Instagram, WordPress, or Facebook. Hope you like my design, I welcome your feedback. 🙂